
Midjourney Image Enhancement and Post-Processing Techniques (Magnific, etc.)
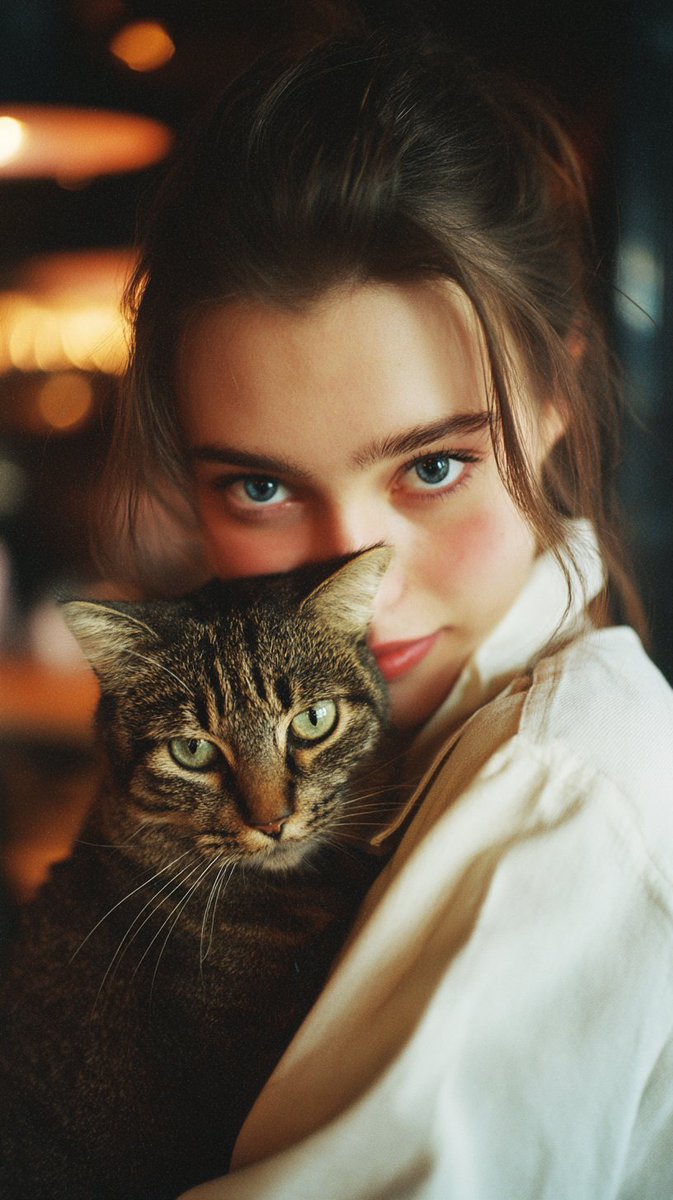
Several tutorials demonstrate how to improve Midjourney images using post-processing tools such as Magnific, Creative Upscaler, and Sublime: adjusting parameters like Sharpen, Smart Grain, and Skin Enhancer to eliminate plastic skin, enhance micro-textures, or convert 3D renders into realistic photographic effects.
Key insights
Magnific Effectively Addresses Midjourney's Plastic Skin Issue
The author provides specific parameter combinations (such as Magnific Skin Enhancer, Creative mode, Sharpen 0%, Smart Grain 8%) to fix the plastic appearance in Midjourney portraits, offering style (Flexible, Faithful) and parameter recommendations tailored to different needs to preserve micro-structure or solely enhance texture.
Universal Enhancement Workflow and Parameter Examples from Photography to 3D Rendering
The tutorial outlines a set of steps: first generating creative images in Midjourney, then using Magnific to enhance micro-textures and realism, and if necessary, employing Creative Upscaler or Sublime for 4x magnification. Recommended parameter examples (Sharpen, Smart Grain, Skin detail, etc.) are provided, showcasing differentiated settings for 3D rendering and photography.
Quick Adjustment Presets to Meet Various Fidelity and Style Needs
The author shares multiple quick presets (such as Flexible, Transform to Real, Faithful) along with numerical suggestions, emphasizing that image variation can be controlled by decreasing/increasing texture and sharpness. The comparison between the original image and the enhanced version is demonstrated, making it easier for users to choose conservative or aggressive enhancement strategies.
Source posts
- Original post by @javilopen on X
- Original post by @javilopen on X
- Original post by @javilopen on X
- Original post by @javilopen on X
- Original post by @javilopen on X
- Original post by @javilopen on X
- Original post by @javilopen on X
- Original post by @javilopen on X
- Original post by @javilopen on X
- Original post by @javilopen on X
- Original post by @javilopen on X